07/02: Power supply
Back in November, 2016, PC died unexpectedly with just some noise from a fan inside. It could be a combination of CPU, mobo, and PSU went wrong, to be on the safe side and get the work horse back in short time, I replaced all 3 of them, along the way, 4GB memory upgrade to bring total to 8GB and a brand new 1T hard drive, so I can reuse the old hard drive someday. But the new mobo is bleeding edge, requires USB3.0 preloaded from OS DVD, so my 2009 Vista Ultimate was obviously out of date, not even windows 7 can do the job, therefore, more money for a new OS - Windows 10 pro, since already spent money on OS, would not mind a couple dozens more for a decent pro version. After all this new PC is up and running happily, I have time to look into the old stuff, first took the PSU apart, found some bulged caps.
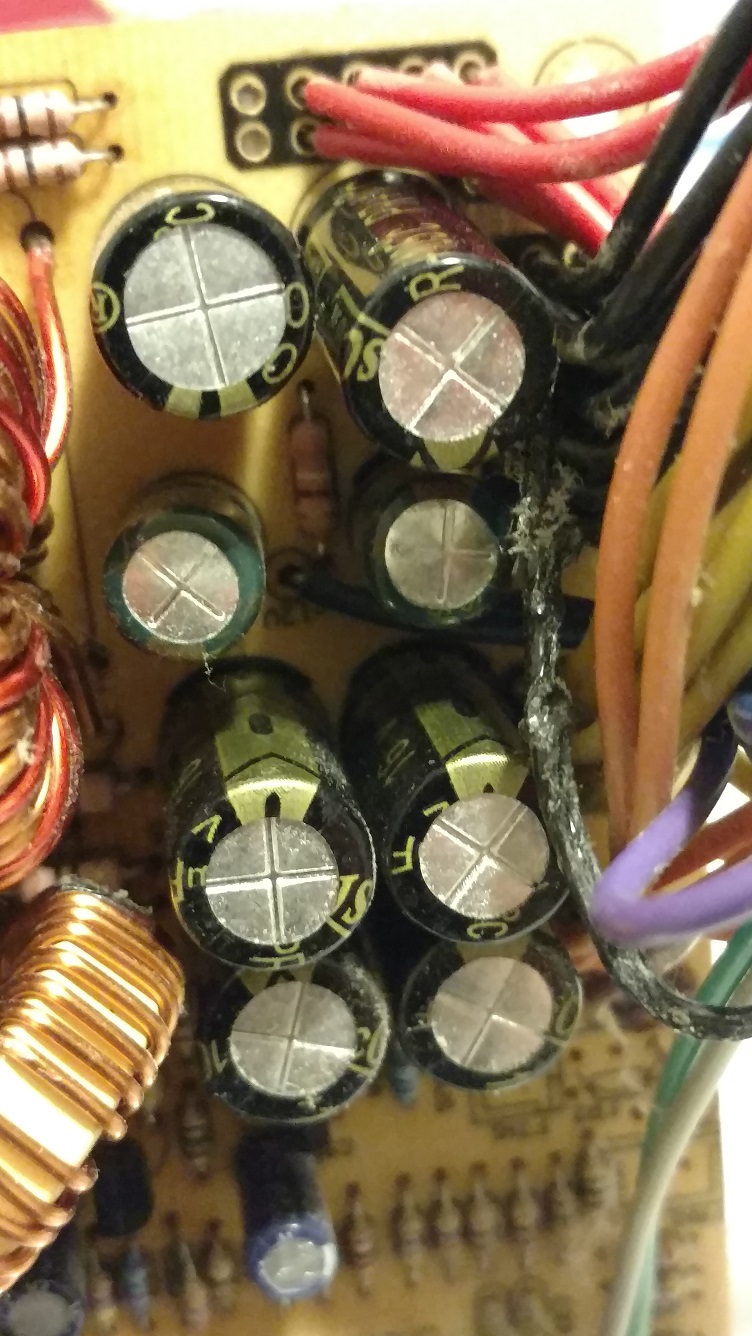
Also noticed a black line was severely burnt due to current overload. Took out the bulged caps.
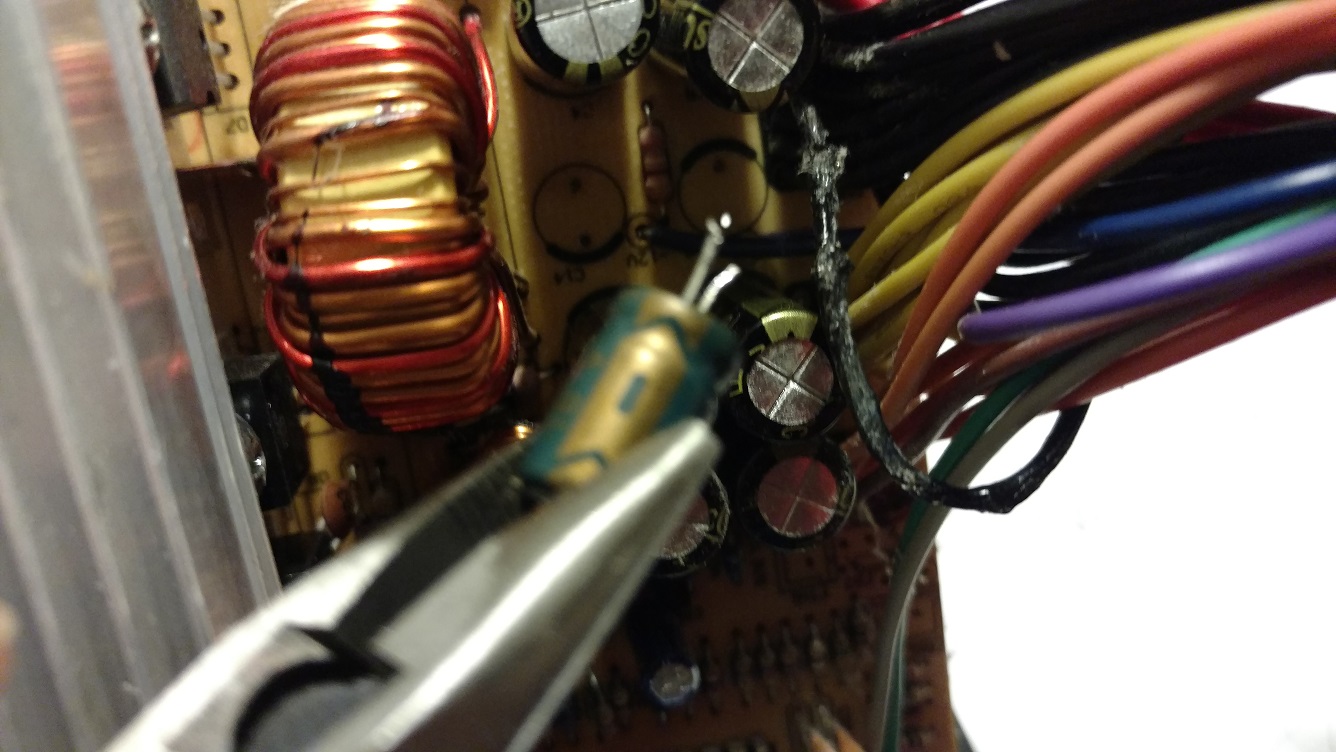
Replaced those 470uf/16v caps with not exact caps 1000uf/16v, problem persisted, found primary caps leaked.
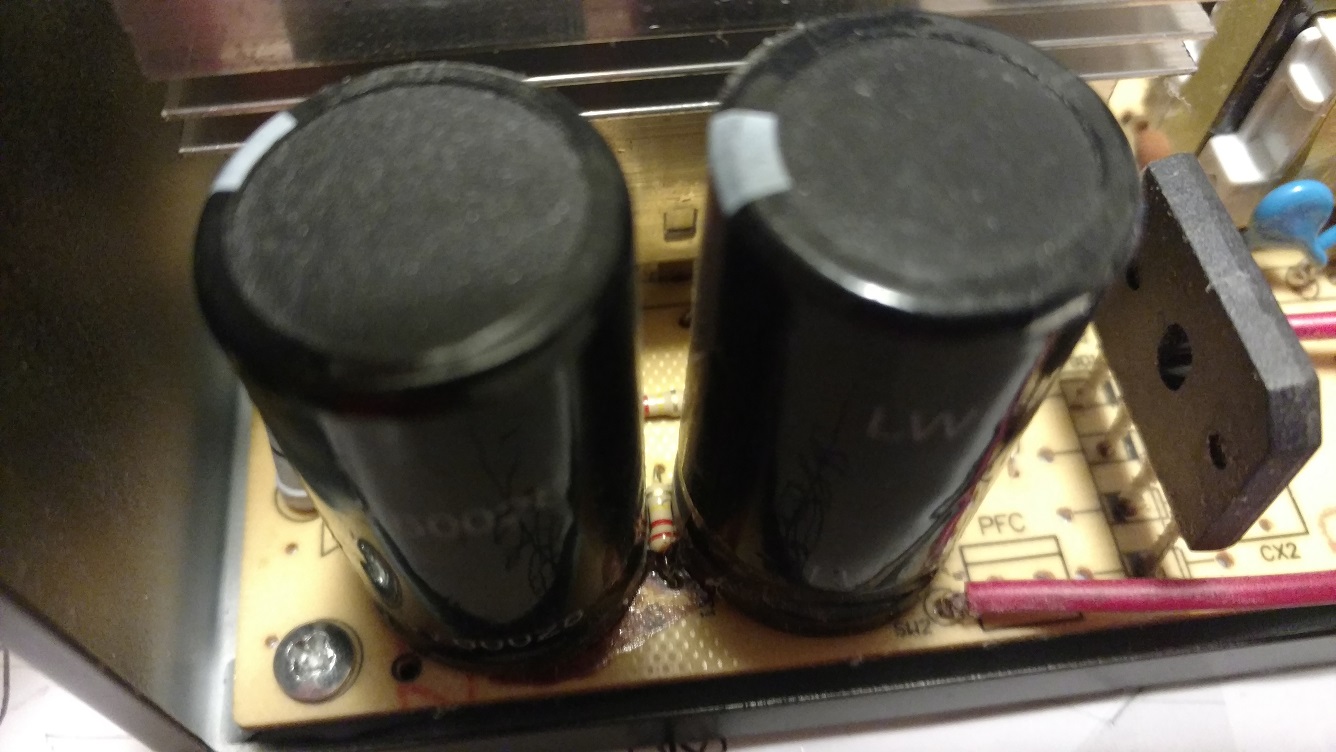
Took out those two primary caps in a bank.
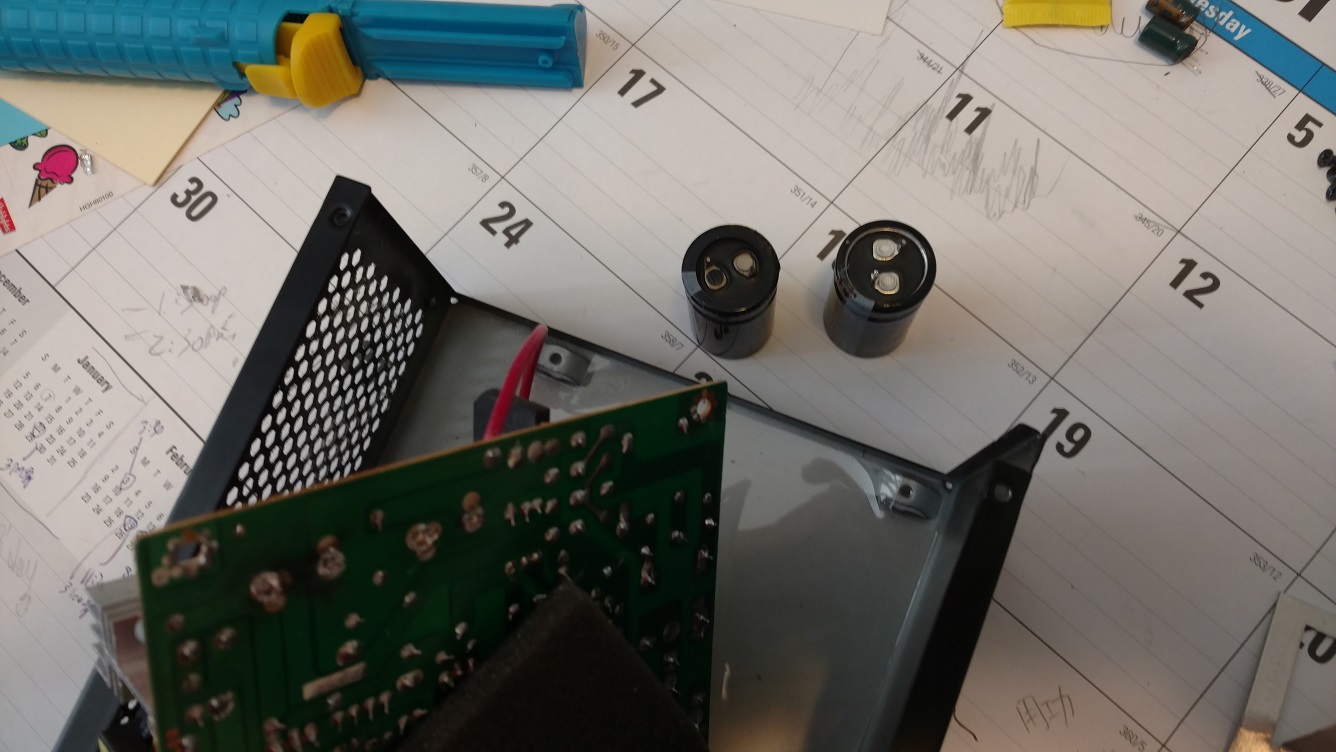
Not even Radio Shack has matching caps. So project put on hold.
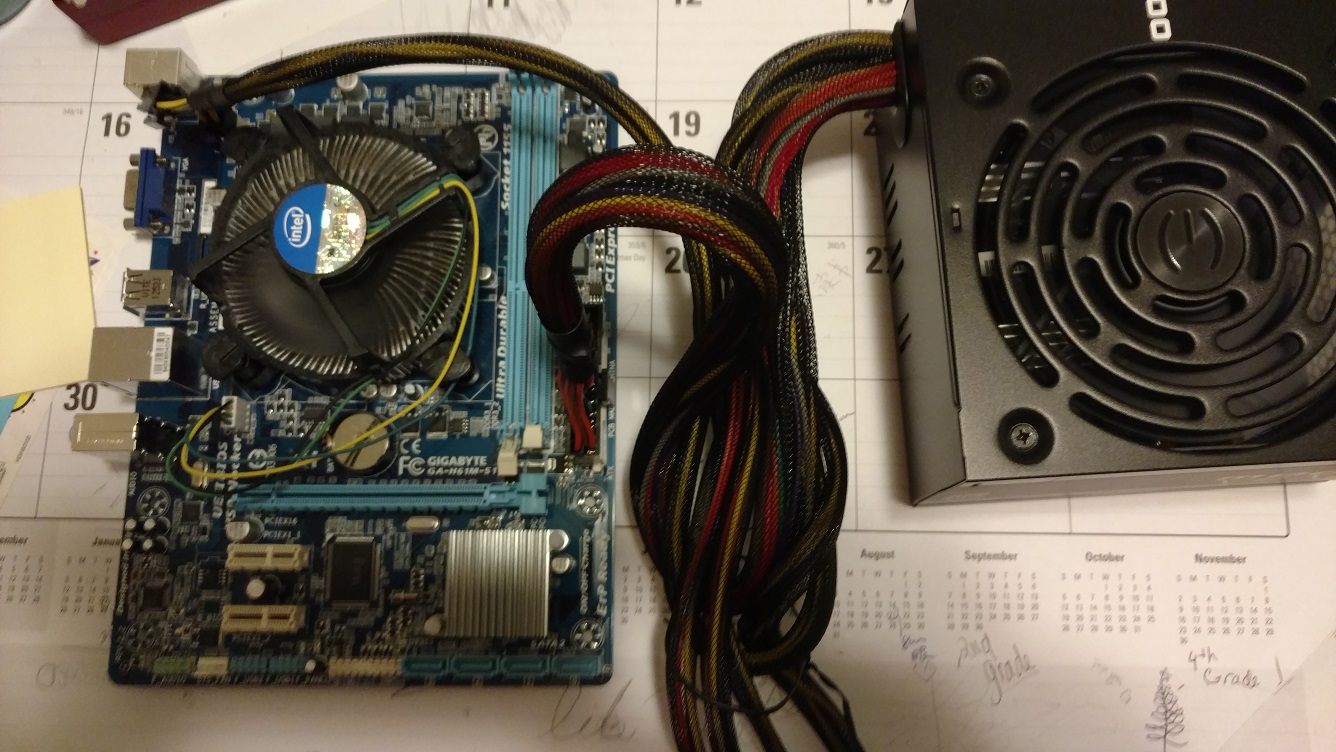
Needed to check CPU and mobo, bought an EVGA 600W on sale from BestBuy for $34.99 which is very good for a major brand with quality, hooked up the new PSU with the old CPU/mobo, shorted the power pins for a second, the CPU fan ran right away, that gave some hope of just the old PSU being the culprit.
The law put simply says that life of a capacitor doubles for every 10 degree Celsius decrease in temperature.
The old PSU's fan was stuck due to lack of oil/lube at the bearing, after adding some w40, it could turn much easier.
This broken fan might well fry the caps.
Never, ever save on a power supply again!

Also noticed a black line was severely burnt due to current overload. Took out the bulged caps.

Replaced those 470uf/16v caps with not exact caps 1000uf/16v, problem persisted, found primary caps leaked.

Took out those two primary caps in a bank.

Not even Radio Shack has matching caps. So project put on hold.
Needed to check CPU and mobo, bought an EVGA 600W on sale from BestBuy for $34.99 which is very good for a major brand with quality, hooked up the new PSU with the old CPU/mobo, shorted the power pins for a second, the CPU fan ran right away, that gave some hope of just the old PSU being the culprit.

The law put simply says that life of a capacitor doubles for every 10 degree Celsius decrease in temperature.
The old PSU's fan was stuck due to lack of oil/lube at the bearing, after adding some w40, it could turn much easier.
This broken fan might well fry the caps.
Never, ever save on a power supply again!
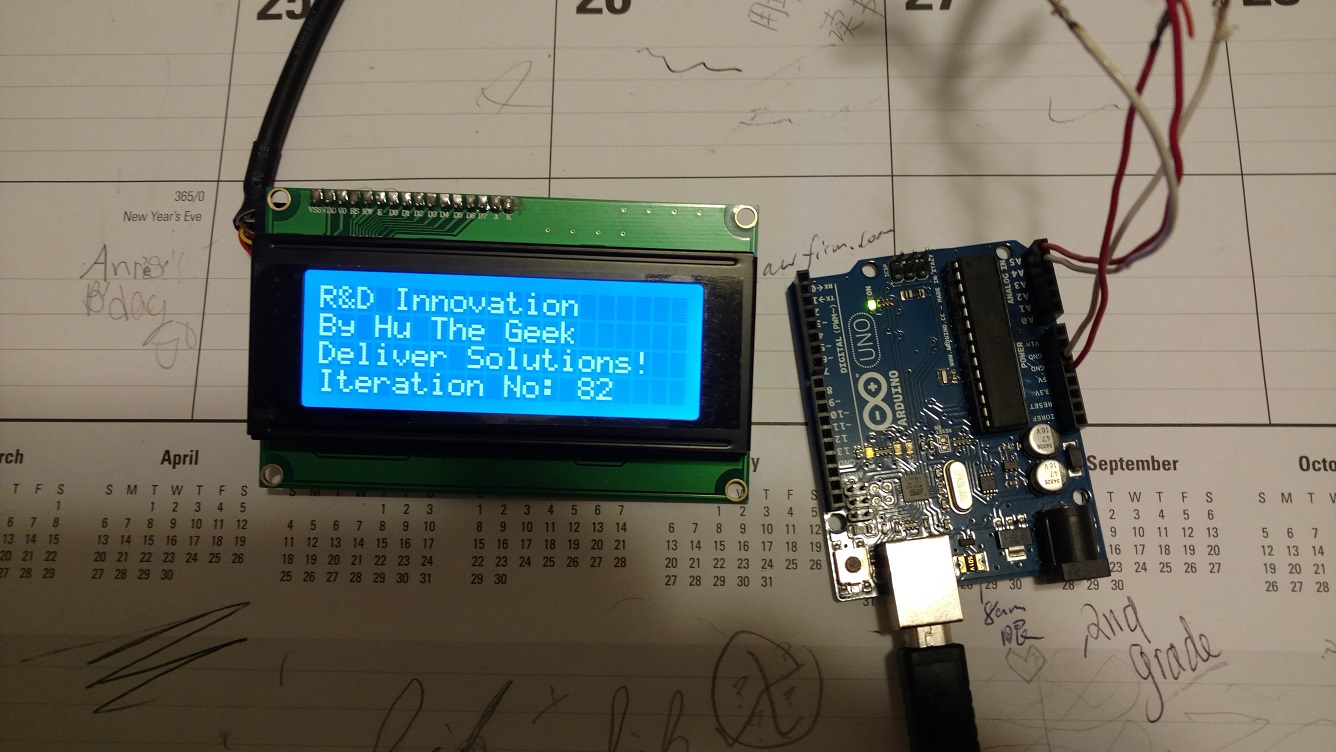
This was an old project done a couple of years ago, but still worth demonstrating it to show how hardware and software can work in a nice fashion, cars these days use a lot of technologies, a controller is the heart of it. The Arduino UNO board is about 11 bucks now, and the LCD is about $14. They can build some nice project around the house, like a water leak detector. Back in the old days, we would be thrilled to make an AM/FM Radio, that might well pave the path for today. Hope kids these days would have the same heart and soul.

I have been thinking of this for a long time since day one I bought this for my wife as a birthday present, it had a timid 8Gb hard drive, always broke down because of the full disk and extremely slow.
I finally shelled out $72.91 for a 128Gb KingSpec SSD, be careful that it would fit into the mini and have the right type of connector (ZIF in this case), Amazon shipped this item to me during the snow storm, so it arrived just one day late.
I made a bootable Clonezilla flash, used it to clone the hard disk to another flash.
I finally had sometime to work on it, first got all the necessary tools ready, took out the battery, remove the 2 screws under that battery which held the keyboard, then push the center top part of the keyboard up, put in a small wedge to hold bend, carefully ply the Tab and Backspace of the keyboard to release it from the tabs, that would expose the keyboard ribbon cable, flipped up the black tab and took off the cable. Did the same for the white small cable and the SSD ZIF cable, remove the 2 SSD holder screws, took out the 8Gb Sandisk SSD and set it aside.
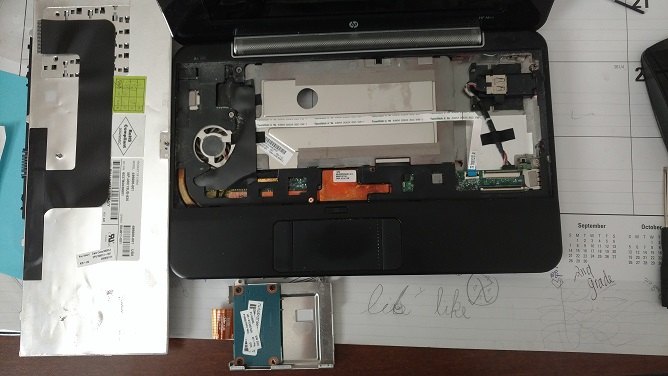
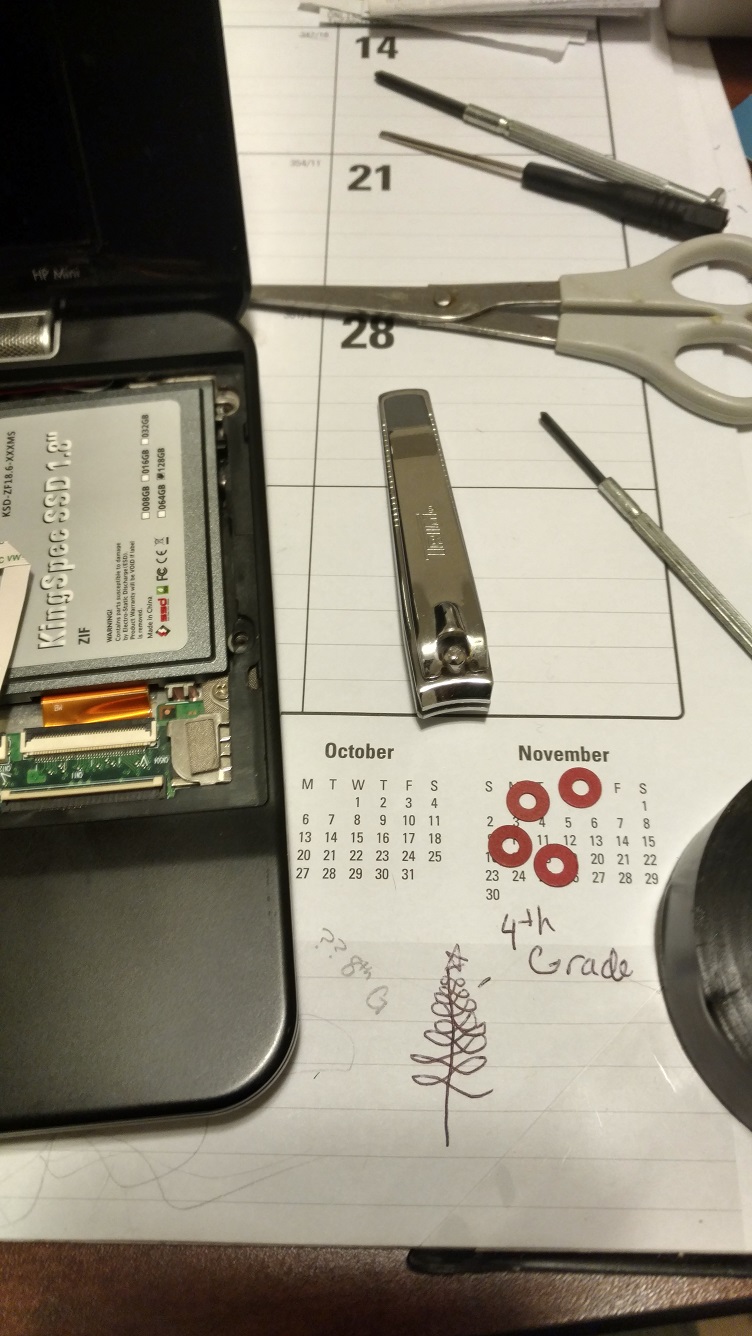
The 1.8" KingSpec SSD is big enough for the entire bay, so needed to remove the internal USB, unplugged the USB connector, used a plastic pryer to carefully ply off the glued down internal USB. The KingSpec SSD did not come with a ZIF ribbon cable, so needed to reuse the old one, it was hard to fit the cable in the new SSD, tried both ends of the cable, the end marked as "mb" was easier to insert, but still tight, in this process, be very careful that the bare contacts face the contacts in the connector.
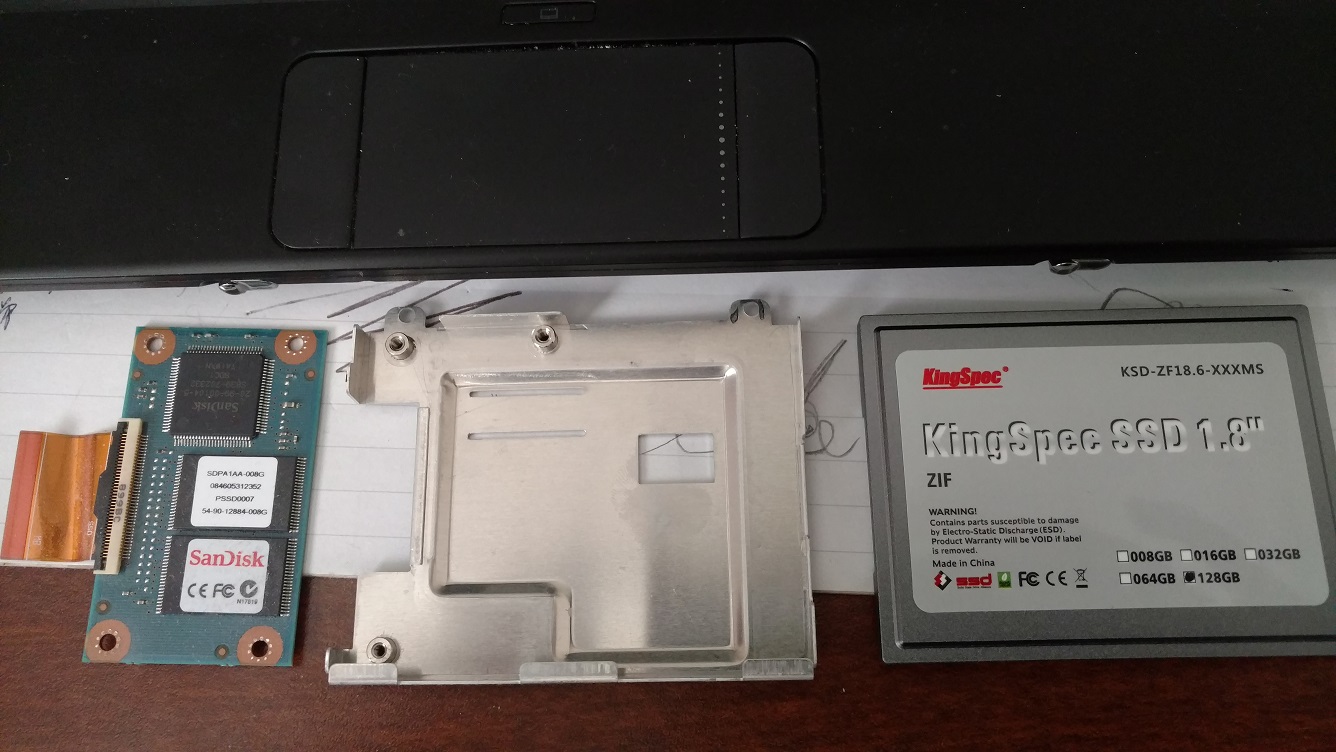
The new SSD did not have any mounts, so made some washers to tighten down the new SSD, then use electric tape to further tie down.
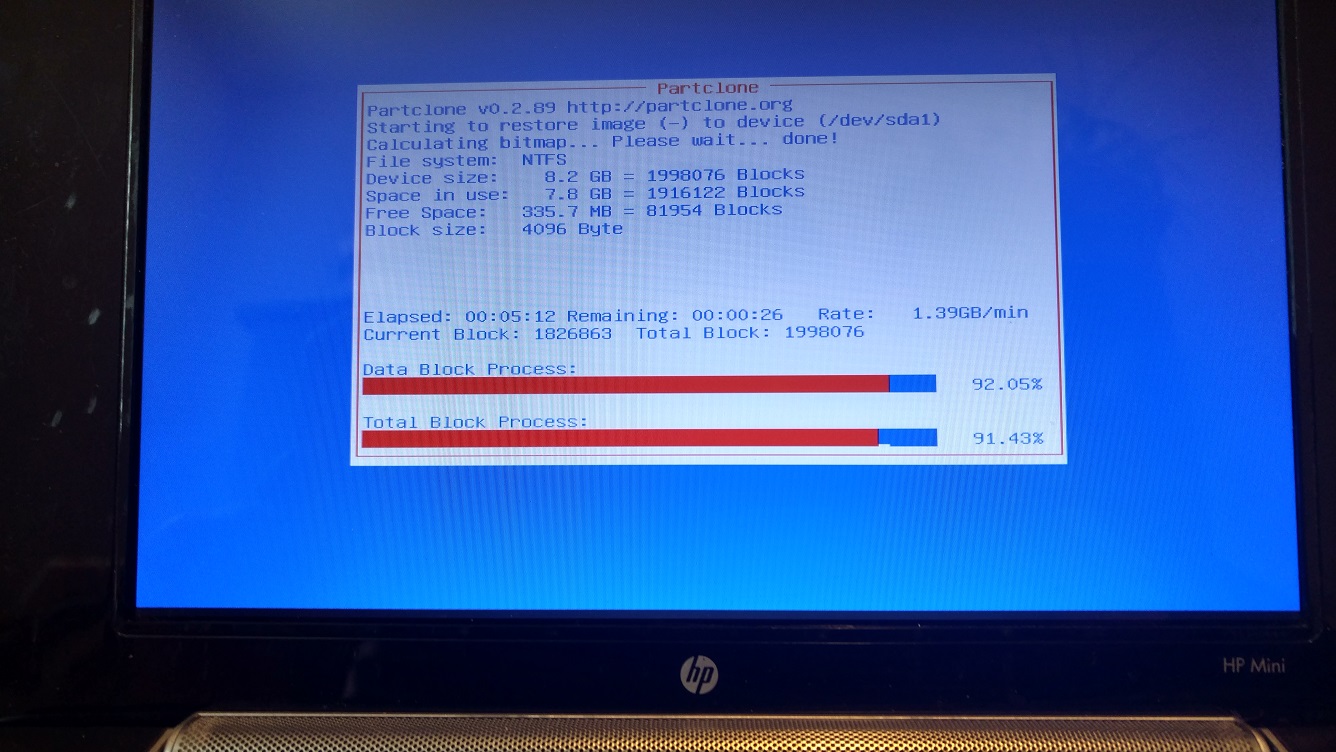
I booted up the mini with Clonezilla flash, restored the image to the new SSD.
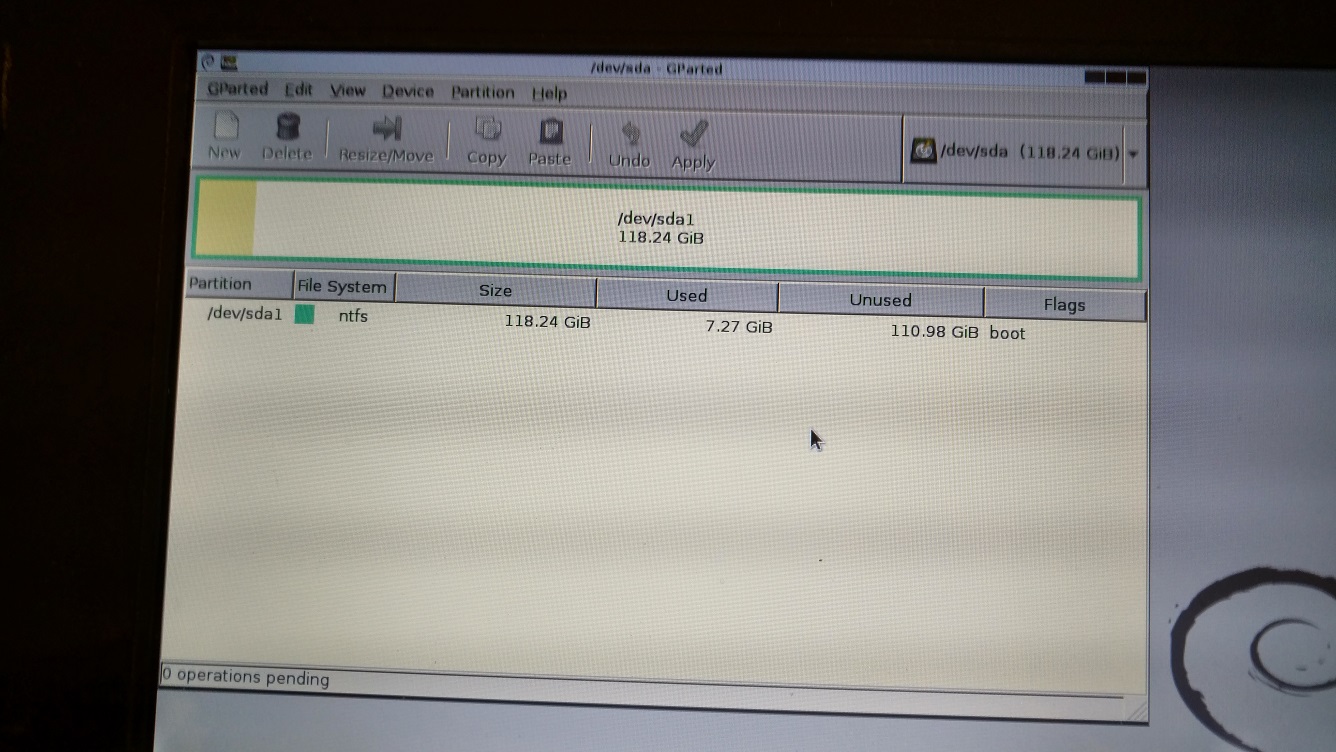
now, the partition was still 8 Gb. So, I made another bootable flash with GParted, first attempt to resize it failed with chkdsk, indicated file system was corrupted, booted into windows XP to run chkdsk /f, then rebooted into XP to finish off disk check. Reran GParted, this time it passed resizing successfully, and SSD got to its full potential.
At this point, job done.
I finally shelled out $72.91 for a 128Gb KingSpec SSD, be careful that it would fit into the mini and have the right type of connector (ZIF in this case), Amazon shipped this item to me during the snow storm, so it arrived just one day late.
I made a bootable Clonezilla flash, used it to clone the hard disk to another flash.
I finally had sometime to work on it, first got all the necessary tools ready, took out the battery, remove the 2 screws under that battery which held the keyboard, then push the center top part of the keyboard up, put in a small wedge to hold bend, carefully ply the Tab and Backspace of the keyboard to release it from the tabs, that would expose the keyboard ribbon cable, flipped up the black tab and took off the cable. Did the same for the white small cable and the SSD ZIF cable, remove the 2 SSD holder screws, took out the 8Gb Sandisk SSD and set it aside.

The 1.8" KingSpec SSD is big enough for the entire bay, so needed to remove the internal USB, unplugged the USB connector, used a plastic pryer to carefully ply off the glued down internal USB. The KingSpec SSD did not come with a ZIF ribbon cable, so needed to reuse the old one, it was hard to fit the cable in the new SSD, tried both ends of the cable, the end marked as "mb" was easier to insert, but still tight, in this process, be very careful that the bare contacts face the contacts in the connector.

The new SSD did not have any mounts, so made some washers to tighten down the new SSD, then use electric tape to further tie down.

I booted up the mini with Clonezilla flash, restored the image to the new SSD.

now, the partition was still 8 Gb. So, I made another bootable flash with GParted, first attempt to resize it failed with chkdsk, indicated file system was corrupted, booted into windows XP to run chkdsk /f, then rebooted into XP to finish off disk check. Reran GParted, this time it passed resizing successfully, and SSD got to its full potential.

At this point, job done.